
Installation Instructions For;
Centurion and Supreme Bimini Extension Kit
Before you start, lay everything out. You should see:
-
(2) Black Bimini clamps
-
(2) Telescoping carbon fiber support poles
-
(1) Shade Canvas
-
(1) Storage Bag
This kit can be assembled without any tools required.
Step 1: Mount the Clamps to Your Bimini Frame
Start by disassembling the black Shoreline clamps. They come pre-assembled, so you’ll need to separate the halves to get them around your Bimini frame.
The key detail here: The smaller diameter section of the clamp goes on the Bimini frame itself.
Reassemble the clamp with the bracket pointing rearward. A good starting point is to mount each clamp about 6-12 inches forward from the rear edge of the Bimini. This gives the poles the right angle and keeps everything balanced.
Tighten the clamp so it’s snug but still adjustable.
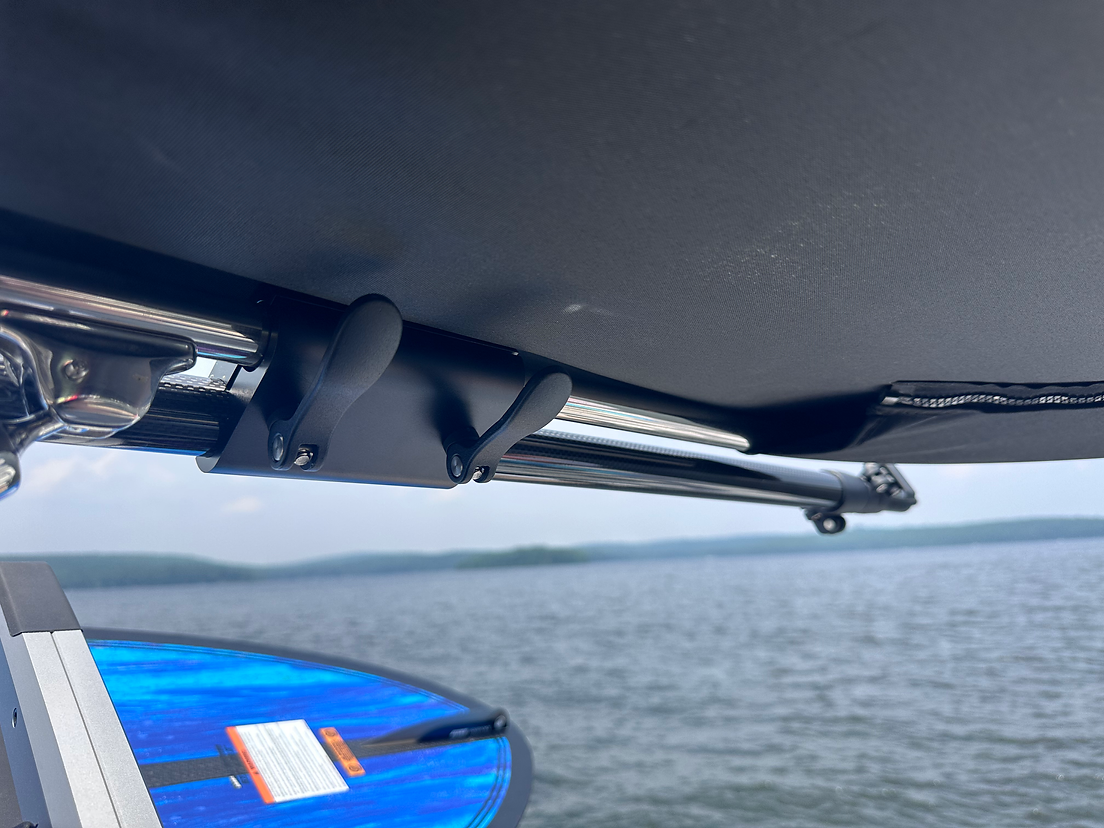
Step 2: Insert the Telescoping Poles
Slide a support pole into each clamp. Once they’re seated, tighten the clamp lever to lock both the bracket and the pole at the same time. The lever should fold down tight and hold the pole without slipping.
Leave the poles mostly collapsed for now. You’ll extend them in a later step once the shade is attached.
Step 3: Strap the Shade to the Brackets
Take the front edge of the shade and wrap the built-in straps around each clamp bracket. Pull the straps tight so the shade is centered and evenly tensioned. This anchor point keeps the canvas stable when the boat is moving.
If the shade looks slightly off-center, just loosen the straps and shift it left or right before re-tightening.

Step 4: Extend the Poles
Now extend the telescoping poles to pull the shade toward the stern. You’re looking for a smooth, even pitch across the canvas. Not too tight, not sagging.
Step 5: Attach the Grommets
At the back corners of the shade you’ll see reinforced grommets. Loop each grommet over the end of your telescoping poles. This step tensions the shade and gives it its final shape.
Make sure both sides feel equal. If one corner is pulling harder, tweak pole height or adjust the straps up front.
Notes:
-
This kit can be used in forward or rear facing configurations
-
Poles may remain in the brackets even when the shade is not in use
Enjoy the Extra Shade
The Malibu Bimini Extension Kit gives you a ton more usable space under your Bimini. Whether you’re throwing surf sets, cruising with the family or hanging at anchor, it keeps the whole crew cooler and makes long days way more comfortable.


