
Mounting Instructions For: Pontoon Boat Bimini Extension Kit
This kit mounts directly through the deck of your pontoon and gives you a stable, forward or rear pull shade system that works with almost any factory Bimini. The install is straightforward as long as you measure carefully and check for obstructions before drilling.
Hardware Installation Video:
https://youtu.be/U6nh7feFqYE?si=1gwtcD6ISuzwPN7Q
What You’ll Need
-
Drill
-
1 5/8" inch hole saw or Step bit
-
5/32" drill bit
-
Marker or pencil
-
Tape measure
-
Adjustable Wrench for M39 Nut
-
The two Shoreline deck-mount brackets, washers, and nuts
Step 1: Mark the Centerline
Stand at the front of your pontoon and mark the centerline on the deck. This will be your reference point for the placement of both brackets.
Double-check the mark visually by lining it up with the bow rail, rub rail, or center fencing.
NOTE: use masking tape to assist with marking locations. This will also help keep a clean cut when drilling your hole locations.

Step 2: Measure Out the Mounting Locations
From the centerline mark, measure 46 to 48 inches to the left. Mark that position. Repeat the same measurement to the right.
These two marks are where your deck-mount brackets will install.
Before you drill, check underneath the deck for any of the following:
-
Wiring harnesses
-
Structural cross members
-
Fuel or water lines
-
Undersheeting supports
If anything is in the way, simply slide your marks forward or backward a few inches and re-check until the spot is fully clear.
Step 3: Drill the Main Holes
Using a 1 5/8 inch hole saw, drill a clean hole at each marked location.
Go slow and steady. You want a clean cut without splintering the decking material. Vacuum out any debris so the bracket can seat properly.

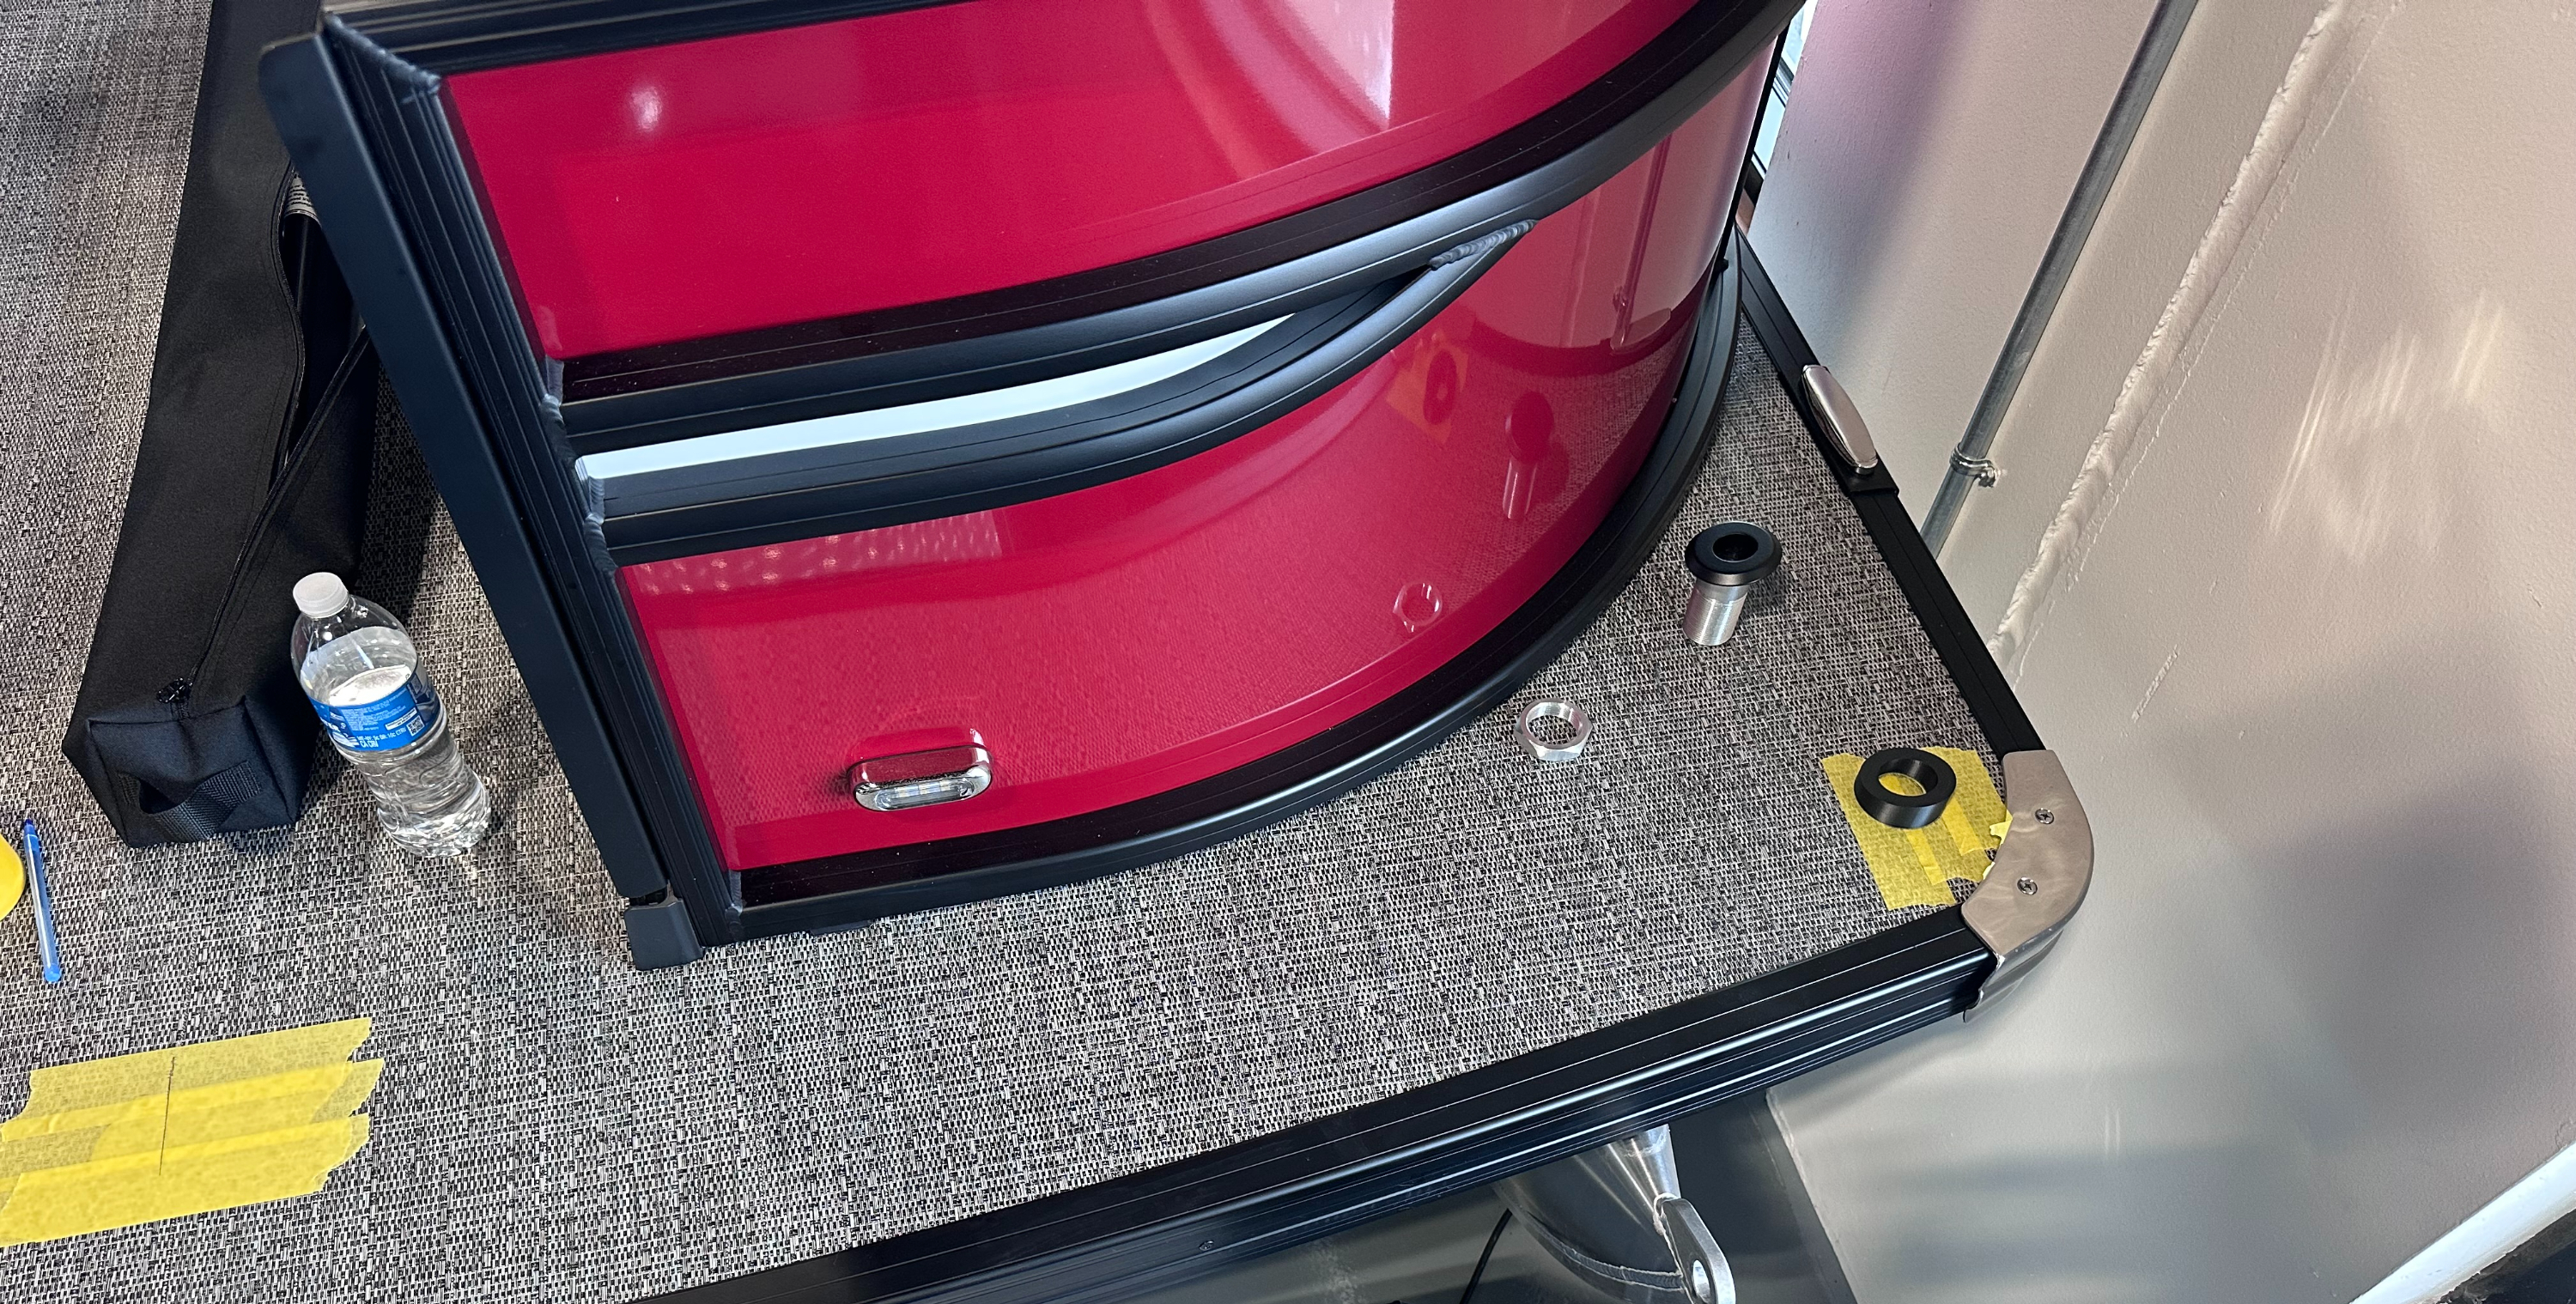
Step 4: Insert the Deck Bracket
Trim around the main hole you just drilled, and insert the deck hardware.
Visually identify the location of the anti-twist pin. They should be located 30-45 degrees off center from the bow of your pontoon.

Step 5: Drill the Anti-Twist Pin Hole
Using a 5/32" drill bit, drill the small locating hole. This hole prevents the bracket from rotating while you install the washer and nut beneath the deck
Step 6: Secure the Deck Hardware
Drop the Shoreline bracket into the large hole. The anti-twist pin should slip into the 1/4" hole you just drilled.
From beneath the deck, slide the washer onto the threads, then thread on the nut by hand.
Tighten the nut with a wrench until the bracket is snug and fully seated against the deck. It should not move or rotate.
Repeat on the other side.

Step 7: Attach the Shade System
Once both deck brackets are installed, it’s time to connect the shade:
-
Attach the front of the shade to your existing Bimini using the buckles sewn into the leading edge of the sunshade. These wrap around the Bimini frame and secure the front of the canvas.
-
Attach the rear of the shade to the poles using the D-ring connection sewn into the back of the shade. The D-rings loop over the pole tips and hold the tension across the shade when the poles are extended.
Adjust the fit so the shade sits centered and even.


